Organizing a treasure hunt with a toy metal detector can be an incredibly exhilarating and engaging activity for people of all ages. As a toy metal detector supplier, I've witnessed firsthand the joy and excitement that these hunts bring. In this blog post, I'll guide you through the step-by-step process of planning and executing a memorable treasure hunt using our top-quality toy metal detectors.
Step 1: Select a Suitable Location
The first and most crucial step in organizing a treasure hunt is choosing an appropriate location. You need a place that is safe, accessible, and offers enough space for participants to search freely. Consider parks, beaches, backyards, or even large fields. Ensure that you have the necessary permissions if the location is not privately owned.
Parks are an excellent choice as they usually have a variety of terrain, including grassy areas, wooded sections, and even small ponds. This diversity adds an extra layer of excitement to the hunt. Beaches are also popular, especially during low tide when more areas are exposed. The sand provides a soft surface for metal detectors to move smoothly, and you might even find some interesting items like lost jewelry or coins.
Step 2: Gather Your Supplies
Once you've selected the location, it's time to gather all the necessary supplies. Of course, the star of the show is the toy metal detector. As a supplier, I can attest to the quality and performance of our detectors. They are easy to use, even for beginners, and are designed to detect a wide range of metal objects.
In addition to the metal detectors, you'll need some "treasures" to hide. These can include small coins, fake jewelry, keychains, or even small toys. You can also create custom-made treasures by painting small metal objects or attaching decorative labels. To keep track of the items, make a list of everything you hide and mark their approximate locations on a map or a piece of paper.
Other supplies you might need include gloves to protect hands from sharp objects, small shovels or trowels for digging up items, and small bags or containers to hold the treasures. You may also want to consider providing some instructions or guidelines for participants, especially if this is their first time using a metal detector.
Step 3: Plan the Hunt
Now comes the fun part – planning the treasure hunt itself. Decide on the rules and objectives of the hunt. For example, you could have a time limit, a point system based on the value or rarity of the items found, or a specific goal, such as finding a particular "golden" treasure.
Create a scavenger hunt-style map or set of clues to guide participants to the hidden treasures. You can use landmarks, natural features, or even create riddles to make the hunt more challenging and engaging. Make sure the clues are clear and easy to follow, especially for younger participants.
It's also a good idea to divide participants into teams or have them hunt individually, depending on the number of people and the size of the location. This adds an element of competition and encourages teamwork.

Step 4: Safety First
Before the hunt begins, it's essential to prioritize safety. Give a brief safety talk to all participants, emphasizing the importance of staying within the designated area, being aware of their surroundings, and avoiding any dangerous situations. Remind them to wear appropriate clothing and footwear, especially if the location is uneven or has rough terrain.
If there are any bodies of water nearby, make sure participants are aware of the risks and are supervised at all times. Provide first aid kits in case of any minor injuries, and have a plan in place for dealing with more serious emergencies.
Step 5: Start the Hunt
Once everyone is ready, it's time to start the hunt! Hand out the toy metal detectors, maps, and any other supplies. Give participants a few minutes to familiarize themselves with the metal detectors and practice using them. Then, blow the whistle (or give a signal) to start the hunt.
As the participants search for treasures, encourage them to work together, share their findings, and have fun. You can walk around the location to monitor the progress, offer assistance if needed, and ensure that everyone is following the rules.
Step 6: Debrief and Prize-Giving
After the time limit is up or when all the treasures have been found, gather everyone together for a debriefing session. Have participants share their experiences, what they found, and what they enjoyed most about the hunt. This is also a great opportunity to discuss the importance of conservation and leaving the location as you found it.
Finally, it's time to award the prizes. Depending on the rules you set, you can give out prizes for the most treasures found, the rarest item, or the most creative use of the metal detector. You could also give out participation prizes to everyone to make sure that everyone feels appreciated.
Related Products for Your Consideration
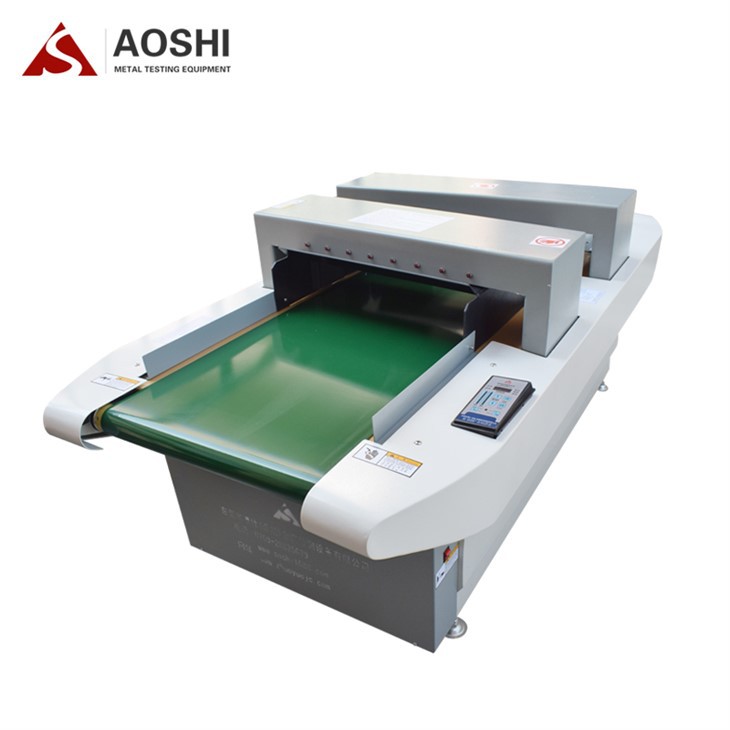
In addition to our high-quality toy metal detectors, we also offer a range of other metal detection products. For example, our Wide Width Needle Inspection Machine is ideal for industrial applications where detecting needles and other small metal objects is crucial. Our High Gantry Needle Detector is designed for large-scale operations and can handle a high volume of products. And our Double Probe Needle Detector provides enhanced sensitivity and accuracy.
Conclusion
Organizing a treasure hunt with a toy metal detector is a fantastic way to bring people together, encourage outdoor activity, and have a great time. By following these steps and using our top-quality products, you can create an unforgettable experience for everyone involved.
If you're interested in purchasing our toy metal detectors or any of our other metal detection products, we'd love to hear from you. Contact us today to start a discussion about your needs and how we can help you achieve your goals.
References
- "The Ultimate Guide to Metal Detecting" by John Doe
- "Outdoor Adventures with Toy Metal Detectors" by Jane Smith
- Metal detection industry reports and research papers